Write Config in Visual Studio Code
Star (0)This tutorial will tell you how to create Monika configurations from scratch, using only Visual Studio Code and a VS Code extension.
Preparation
Let’s start with installing Visual Studio Code if you haven’t installed it on your computer yet. Head over to https://code.visualstudio.com/ and download the installation file according to your operating system.
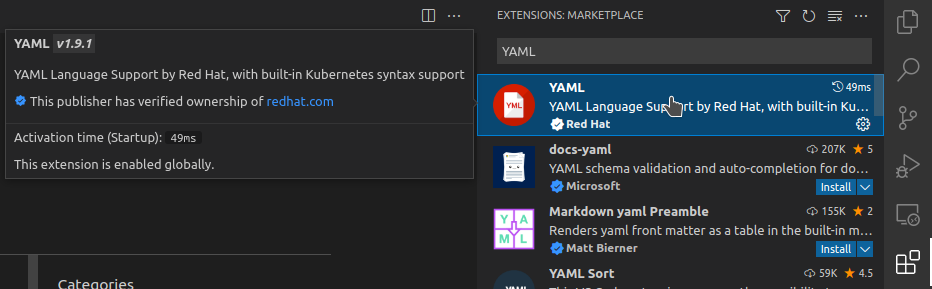
After you installed Visual Studio Code, head to the Extension menu, and search for an extension called YAML created by Red Hat. Install the extension right away in order to enable the Monika configuration autocompletion.
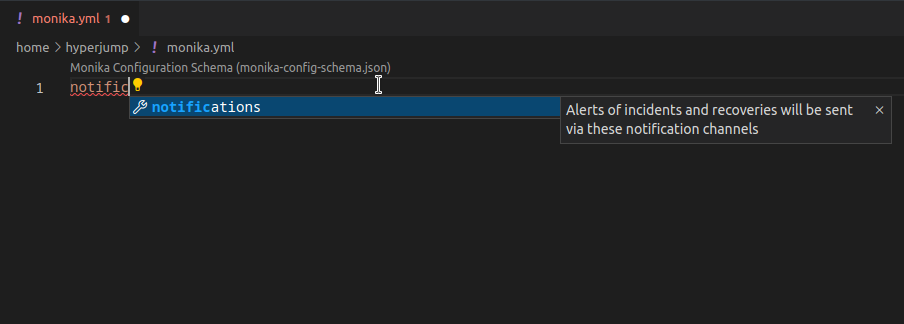
Once you’re done, create a file called monika.yml and try to type “notific”. It will show you an explanation of the “notifications” key.
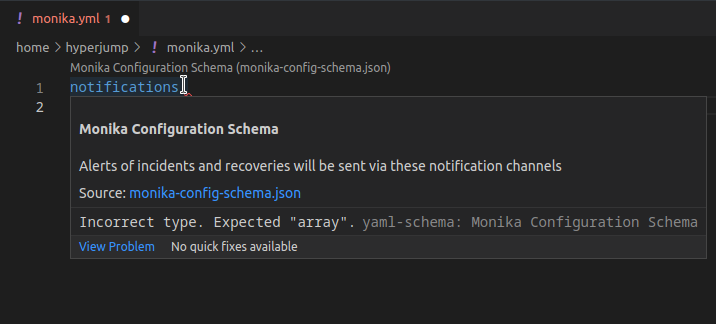
Then proceed to type “notifications:” all the way and press enter to break the line. You will see a warning that the “notifications” key type should be an array
Now some of you may think, “what if I don’t know what to type in a blank file?”. You can simply press CTRL+Space to show available options.
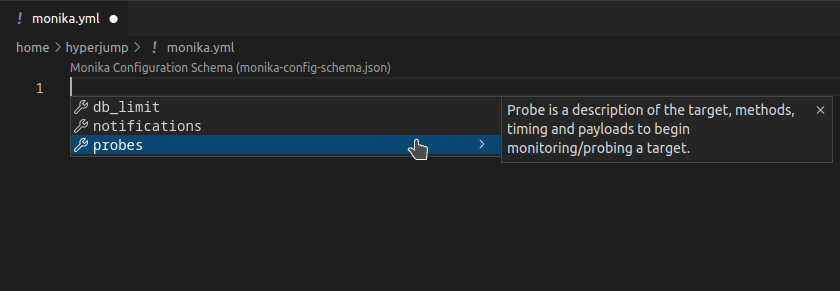
Also, it includes auto-complete when you select an option. For example, press CTRL+Space and select probes. It will automatically set a probe with an empty ID, and ten seconds interval.
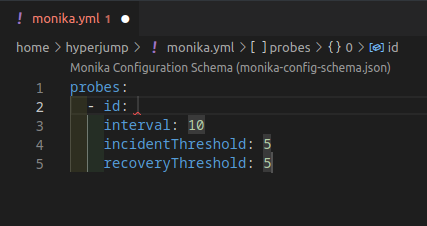
If you have used Monika, you may notice that some keys are not there yet such as the URL and the Method. Below the id key, with the same indent, try to press CTRL+Space again and you will see all available keys inside a probe object.

Now you can create your own Monika configuration using the methods above. For now, let’s try to create a Monika configuration based on the points below:
- I want to use the Desktop notification channel
- I want to create a single probe with the name “Google”, with any ID, has ten seconds interval
- Inside the probe “Google”, I want to have a request that will hit https://www.google.com with the method GET
Try to do it yourself first and see if you can create the configuration from the points above similar to the configuration below:
notifications:- id: desktoptype: desktopprobes:- id: googlename: "Google"requests:- url: https://www.google.comtimeout: 10method: GETinterval: 10
If the configuration is similar to the one you created, then congratulations! All that’s left to do is to run it using Monika.


PT Artha Rajamas Mandiri (Hyperjump) is an open-source-first company providing engineering excellence service. We aim to build and commercialize open-source tools to help companies streamline, simplify, and secure the most important aspects of its modern DevOps practices.
Copyright © 2026 Hyperjump Tech. All Rights Reserved.